


Sealants are versatile tools for various projects, from sealing windows and doors to filling gaps and cracks in your home. However, like any other DIY task, applying sealant requires some know-how to achieve optimal results. In this guide, we'll outline some common mistakes to avoid when using sealants, helping you achieve a professional finish every time.
Dos: Proper Surface Preparation
Before applying sealant, ensure that the surface is clean, dry, and free from any dust, dirt, or debris. Use a mild detergent and water to clean the area thoroughly, and allow it to dry completely before proceeding with the application. Proper surface preparation ensures that the sealant adheres effectively and creates a tight, long-lasting seal.
Don'ts: Neglecting to Use Backer Rods
One common mistake is neglecting to use backer rods, especially when sealing larger gaps or cracks. Backer rods provide support for the sealant, preventing it from sinking into the gap and ensuring a more even application. Always use an appropriate-sized backer rod to fill larger gaps before applying sealant for optimal results.
Dos: Choose the Right Sealant
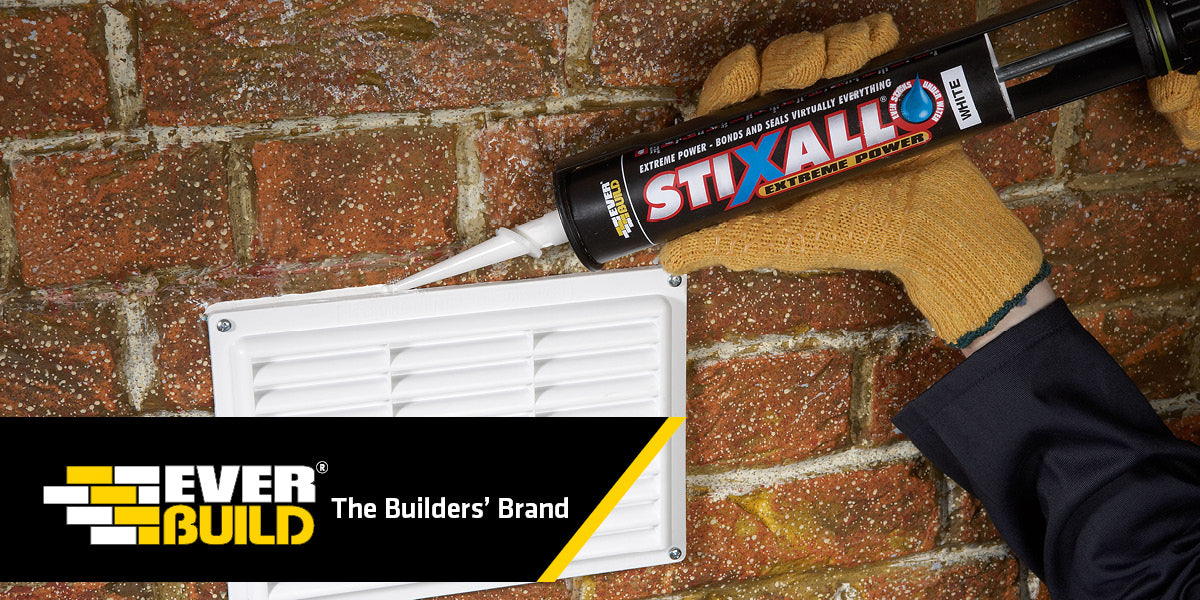
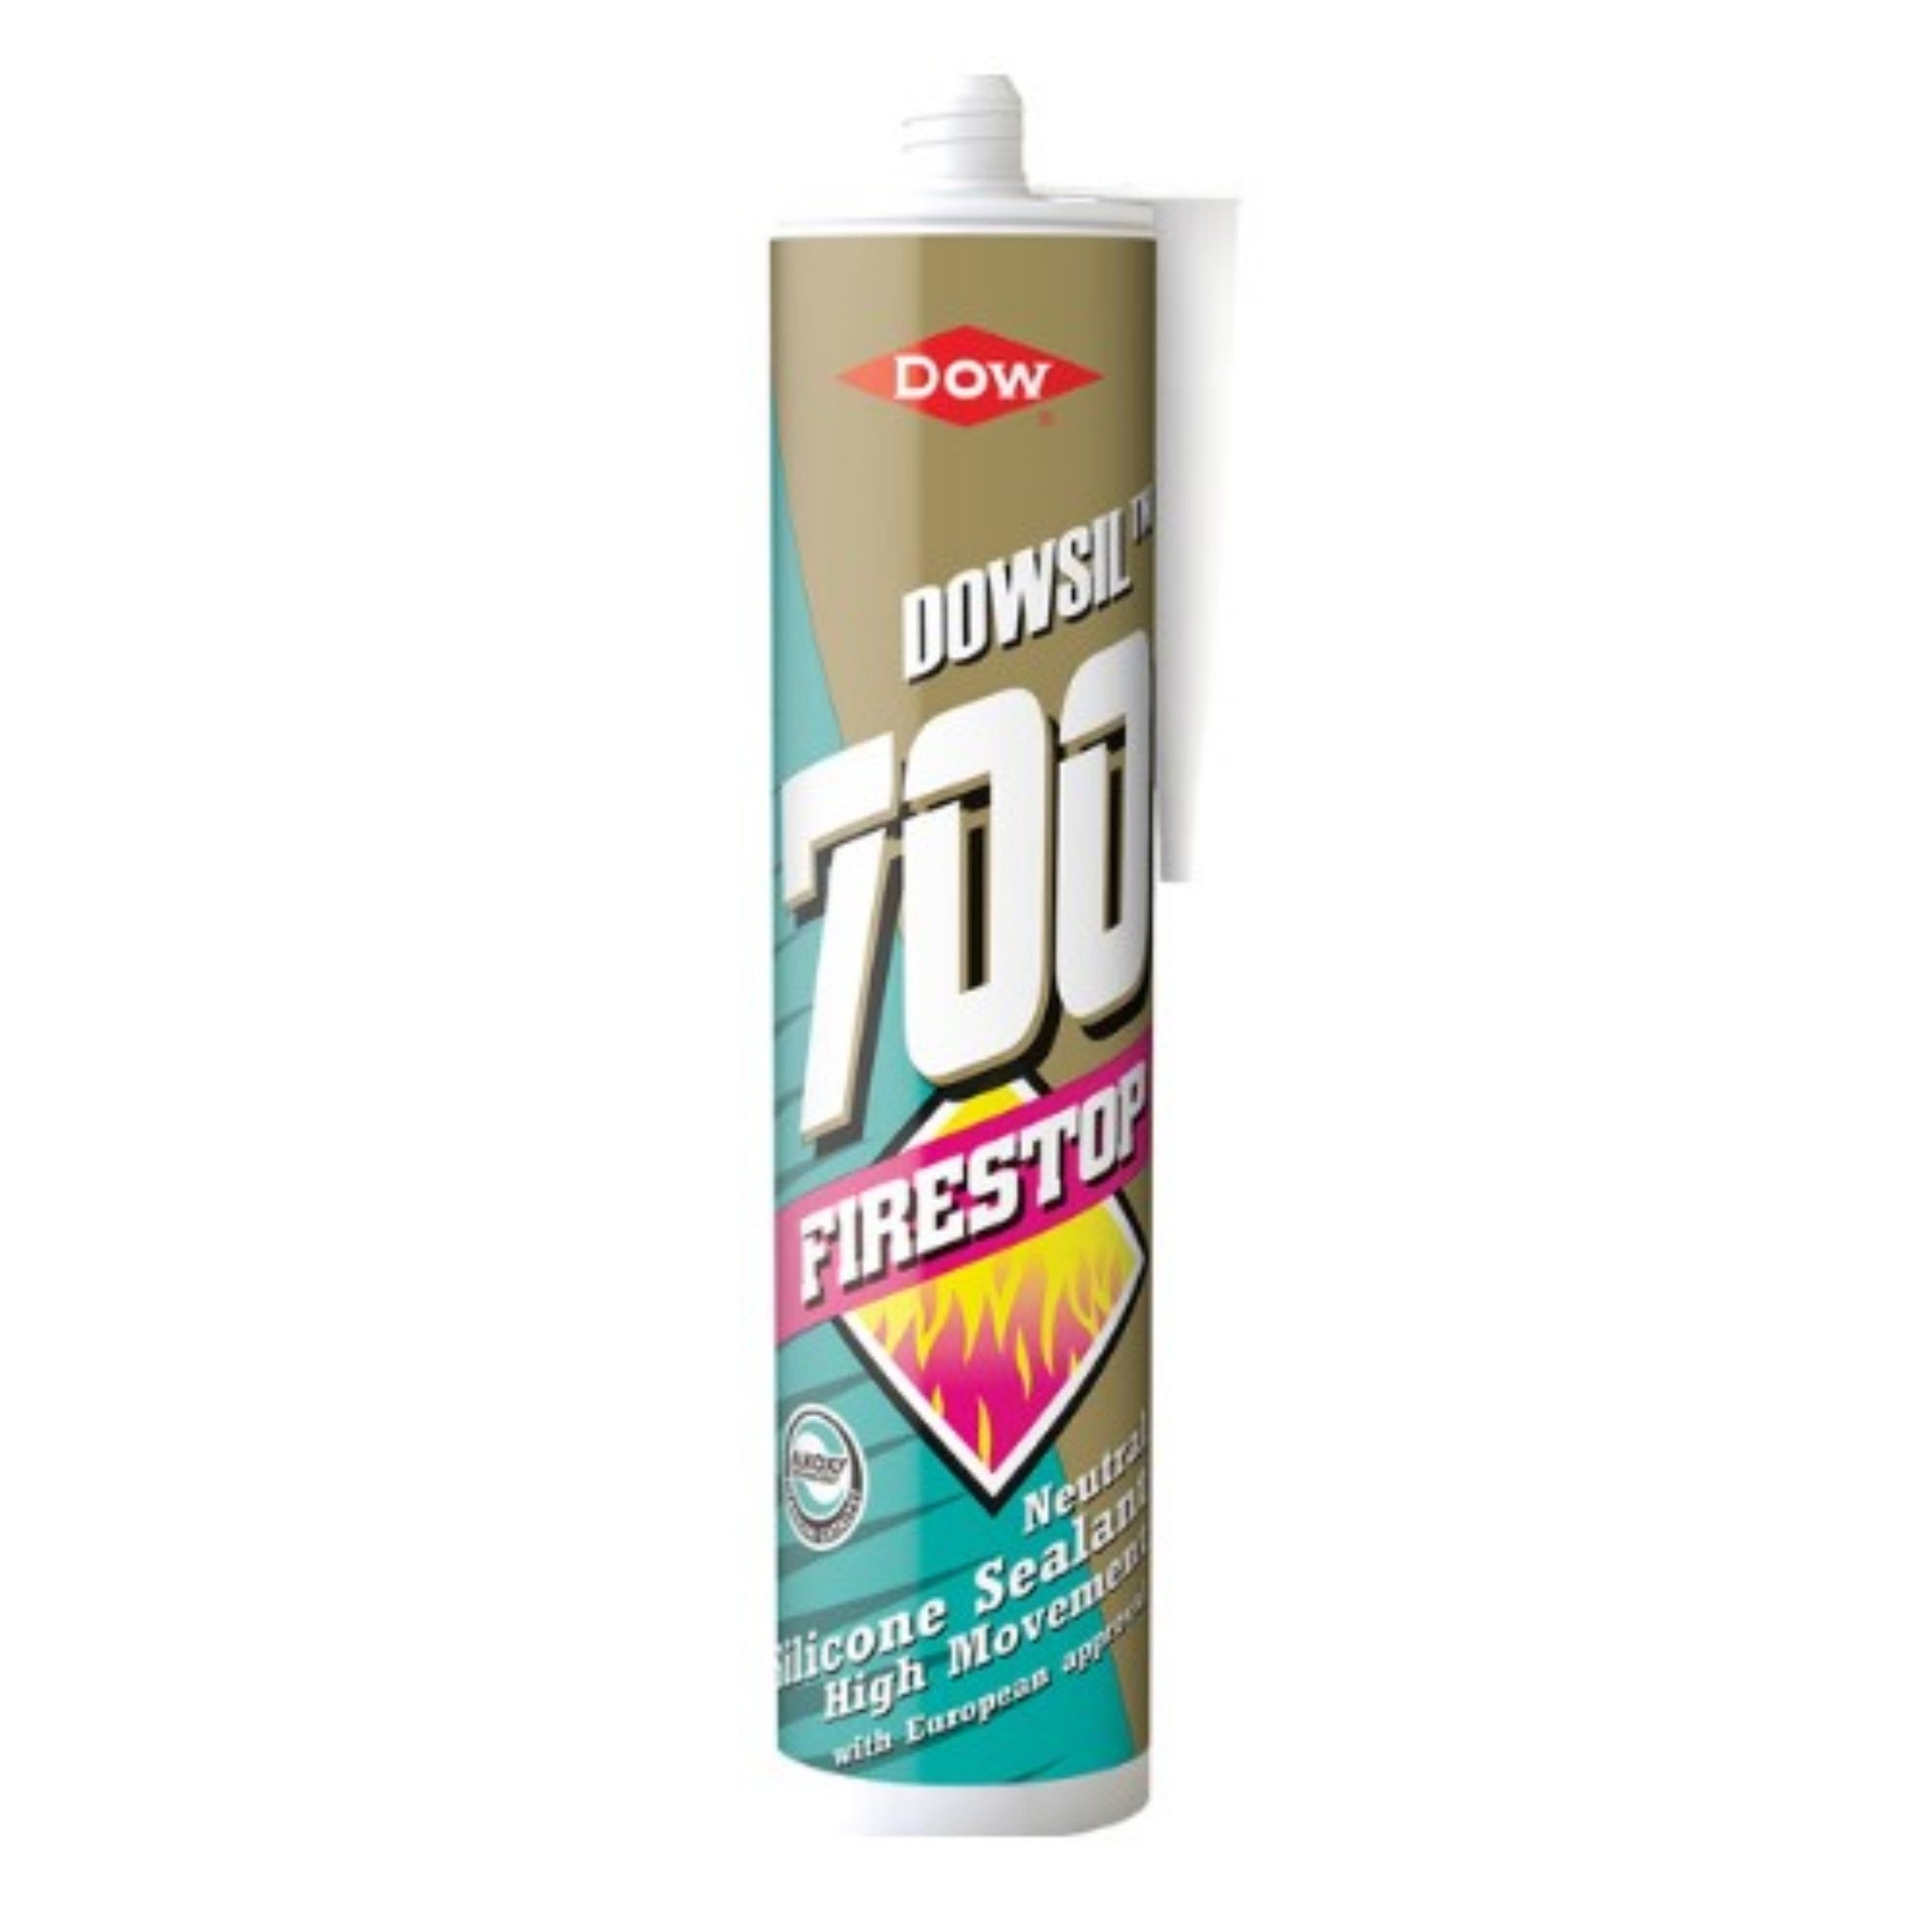
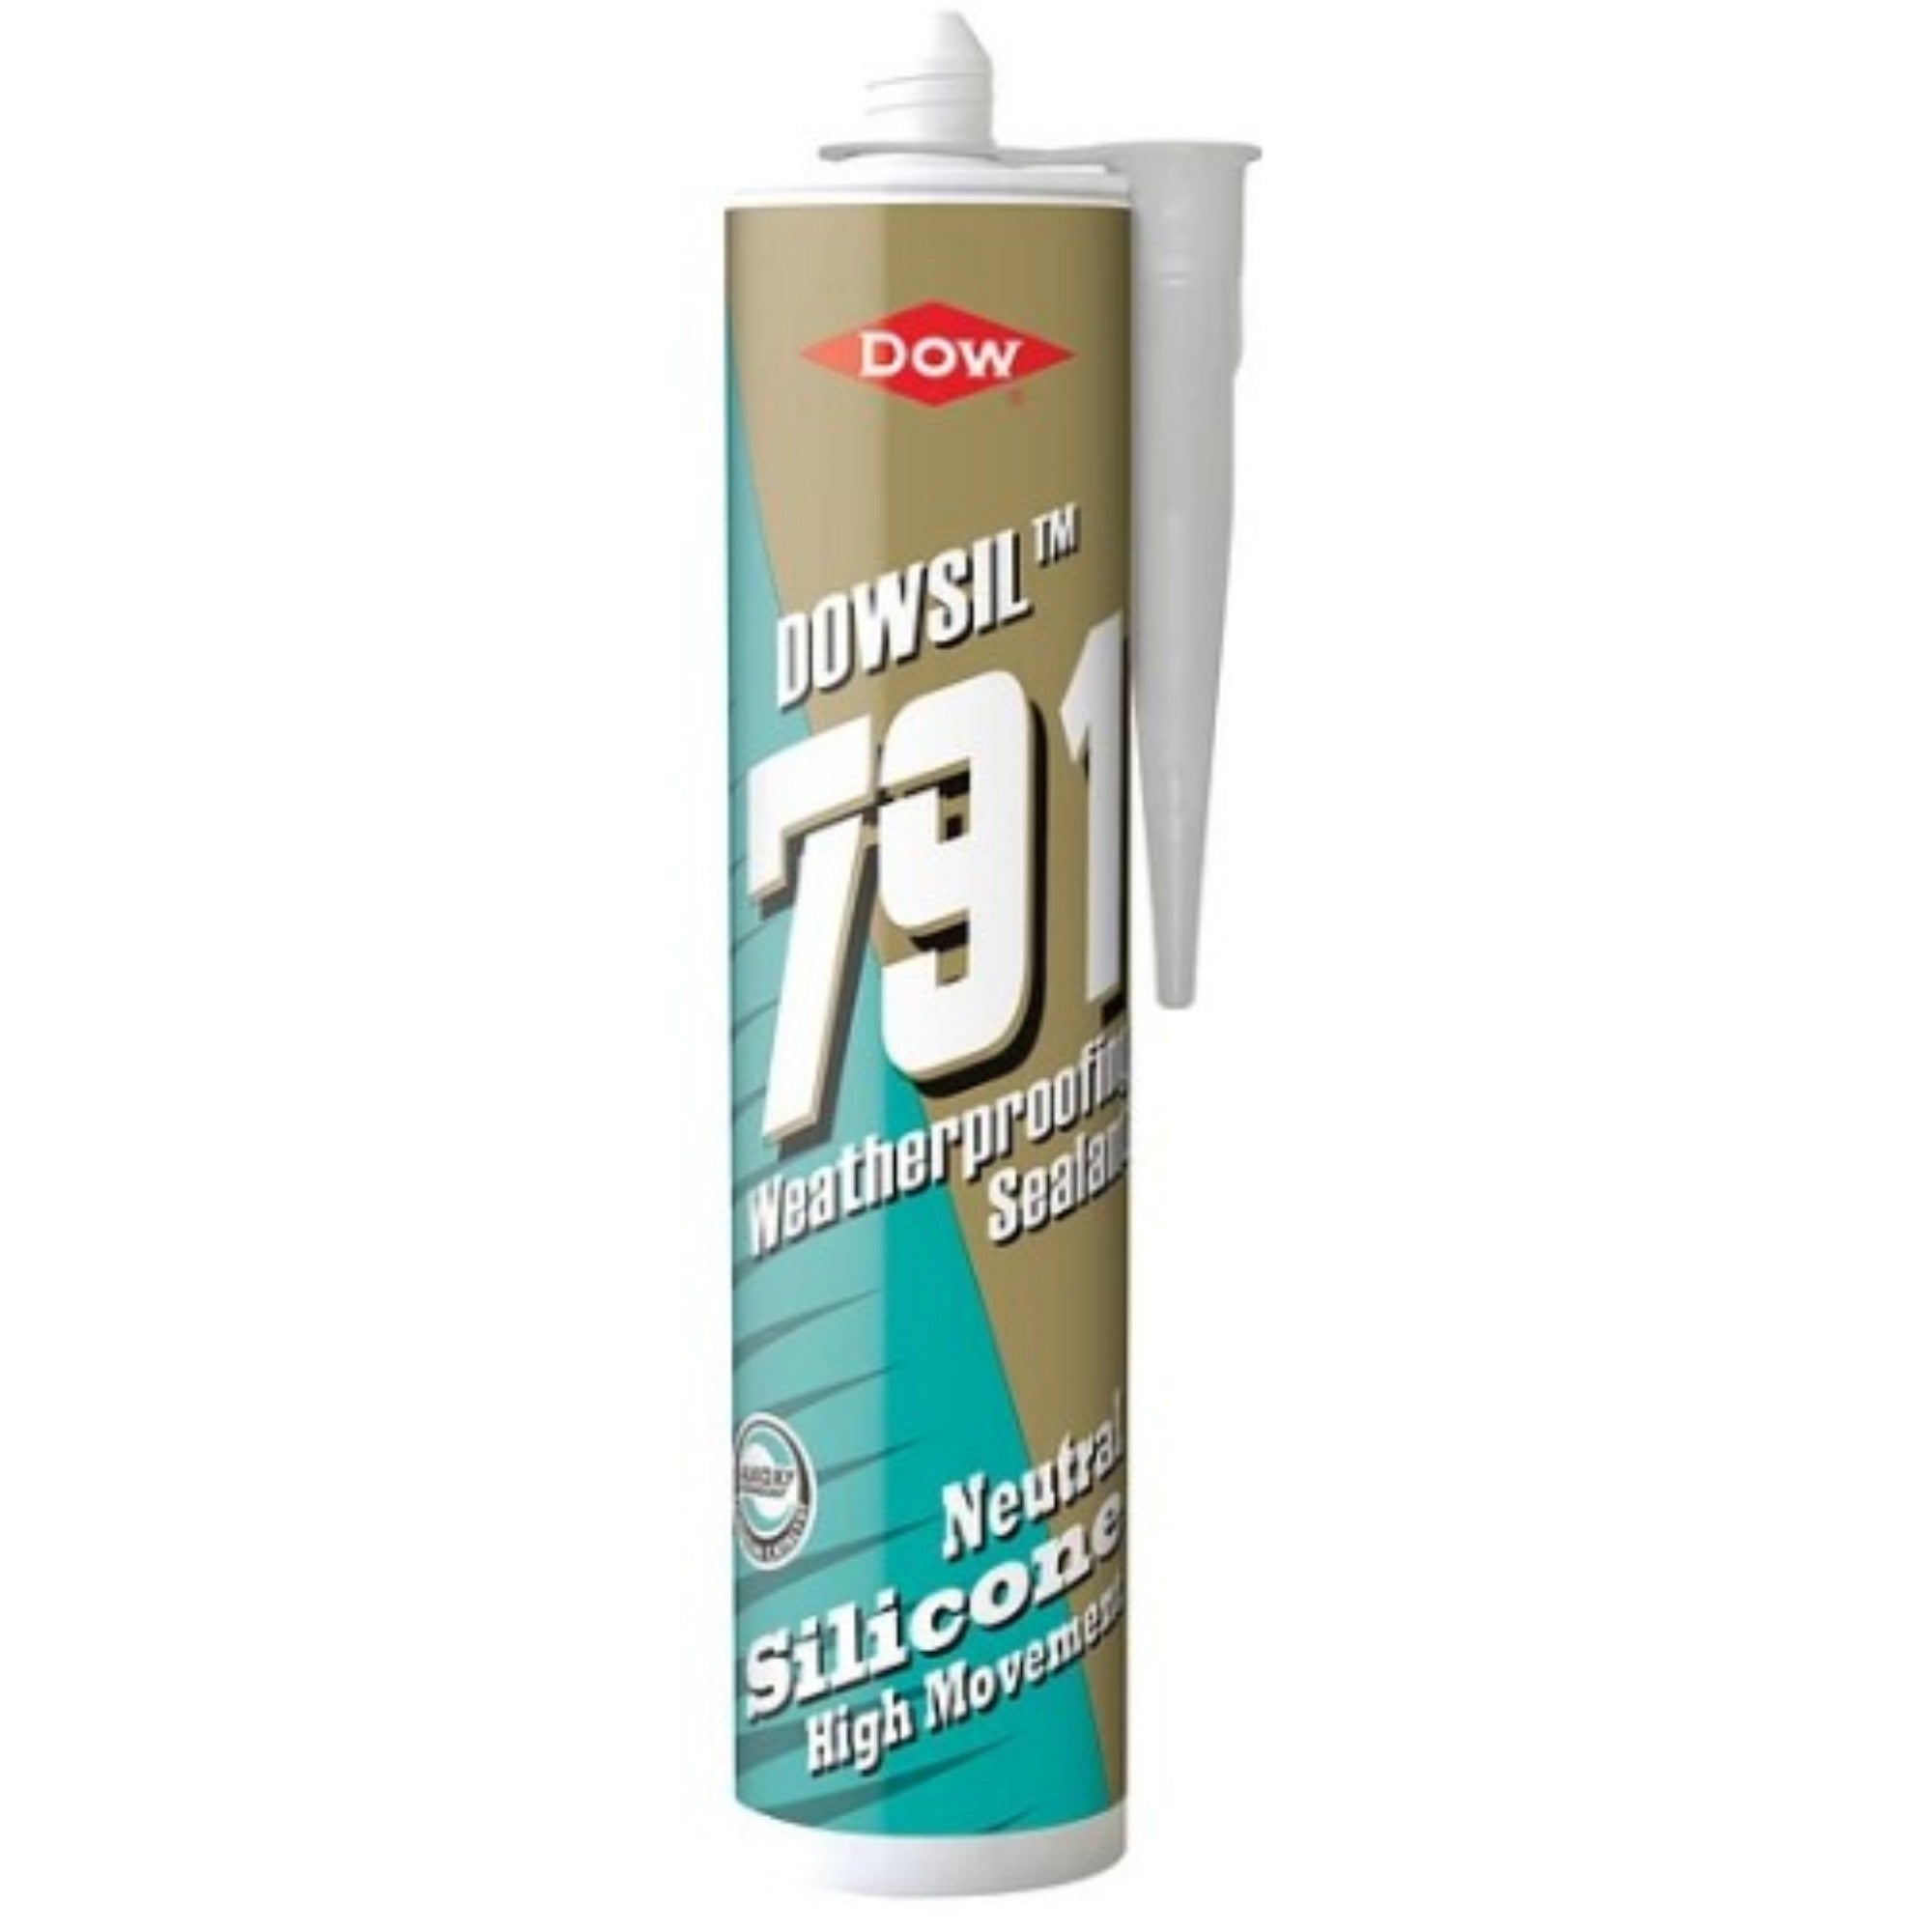
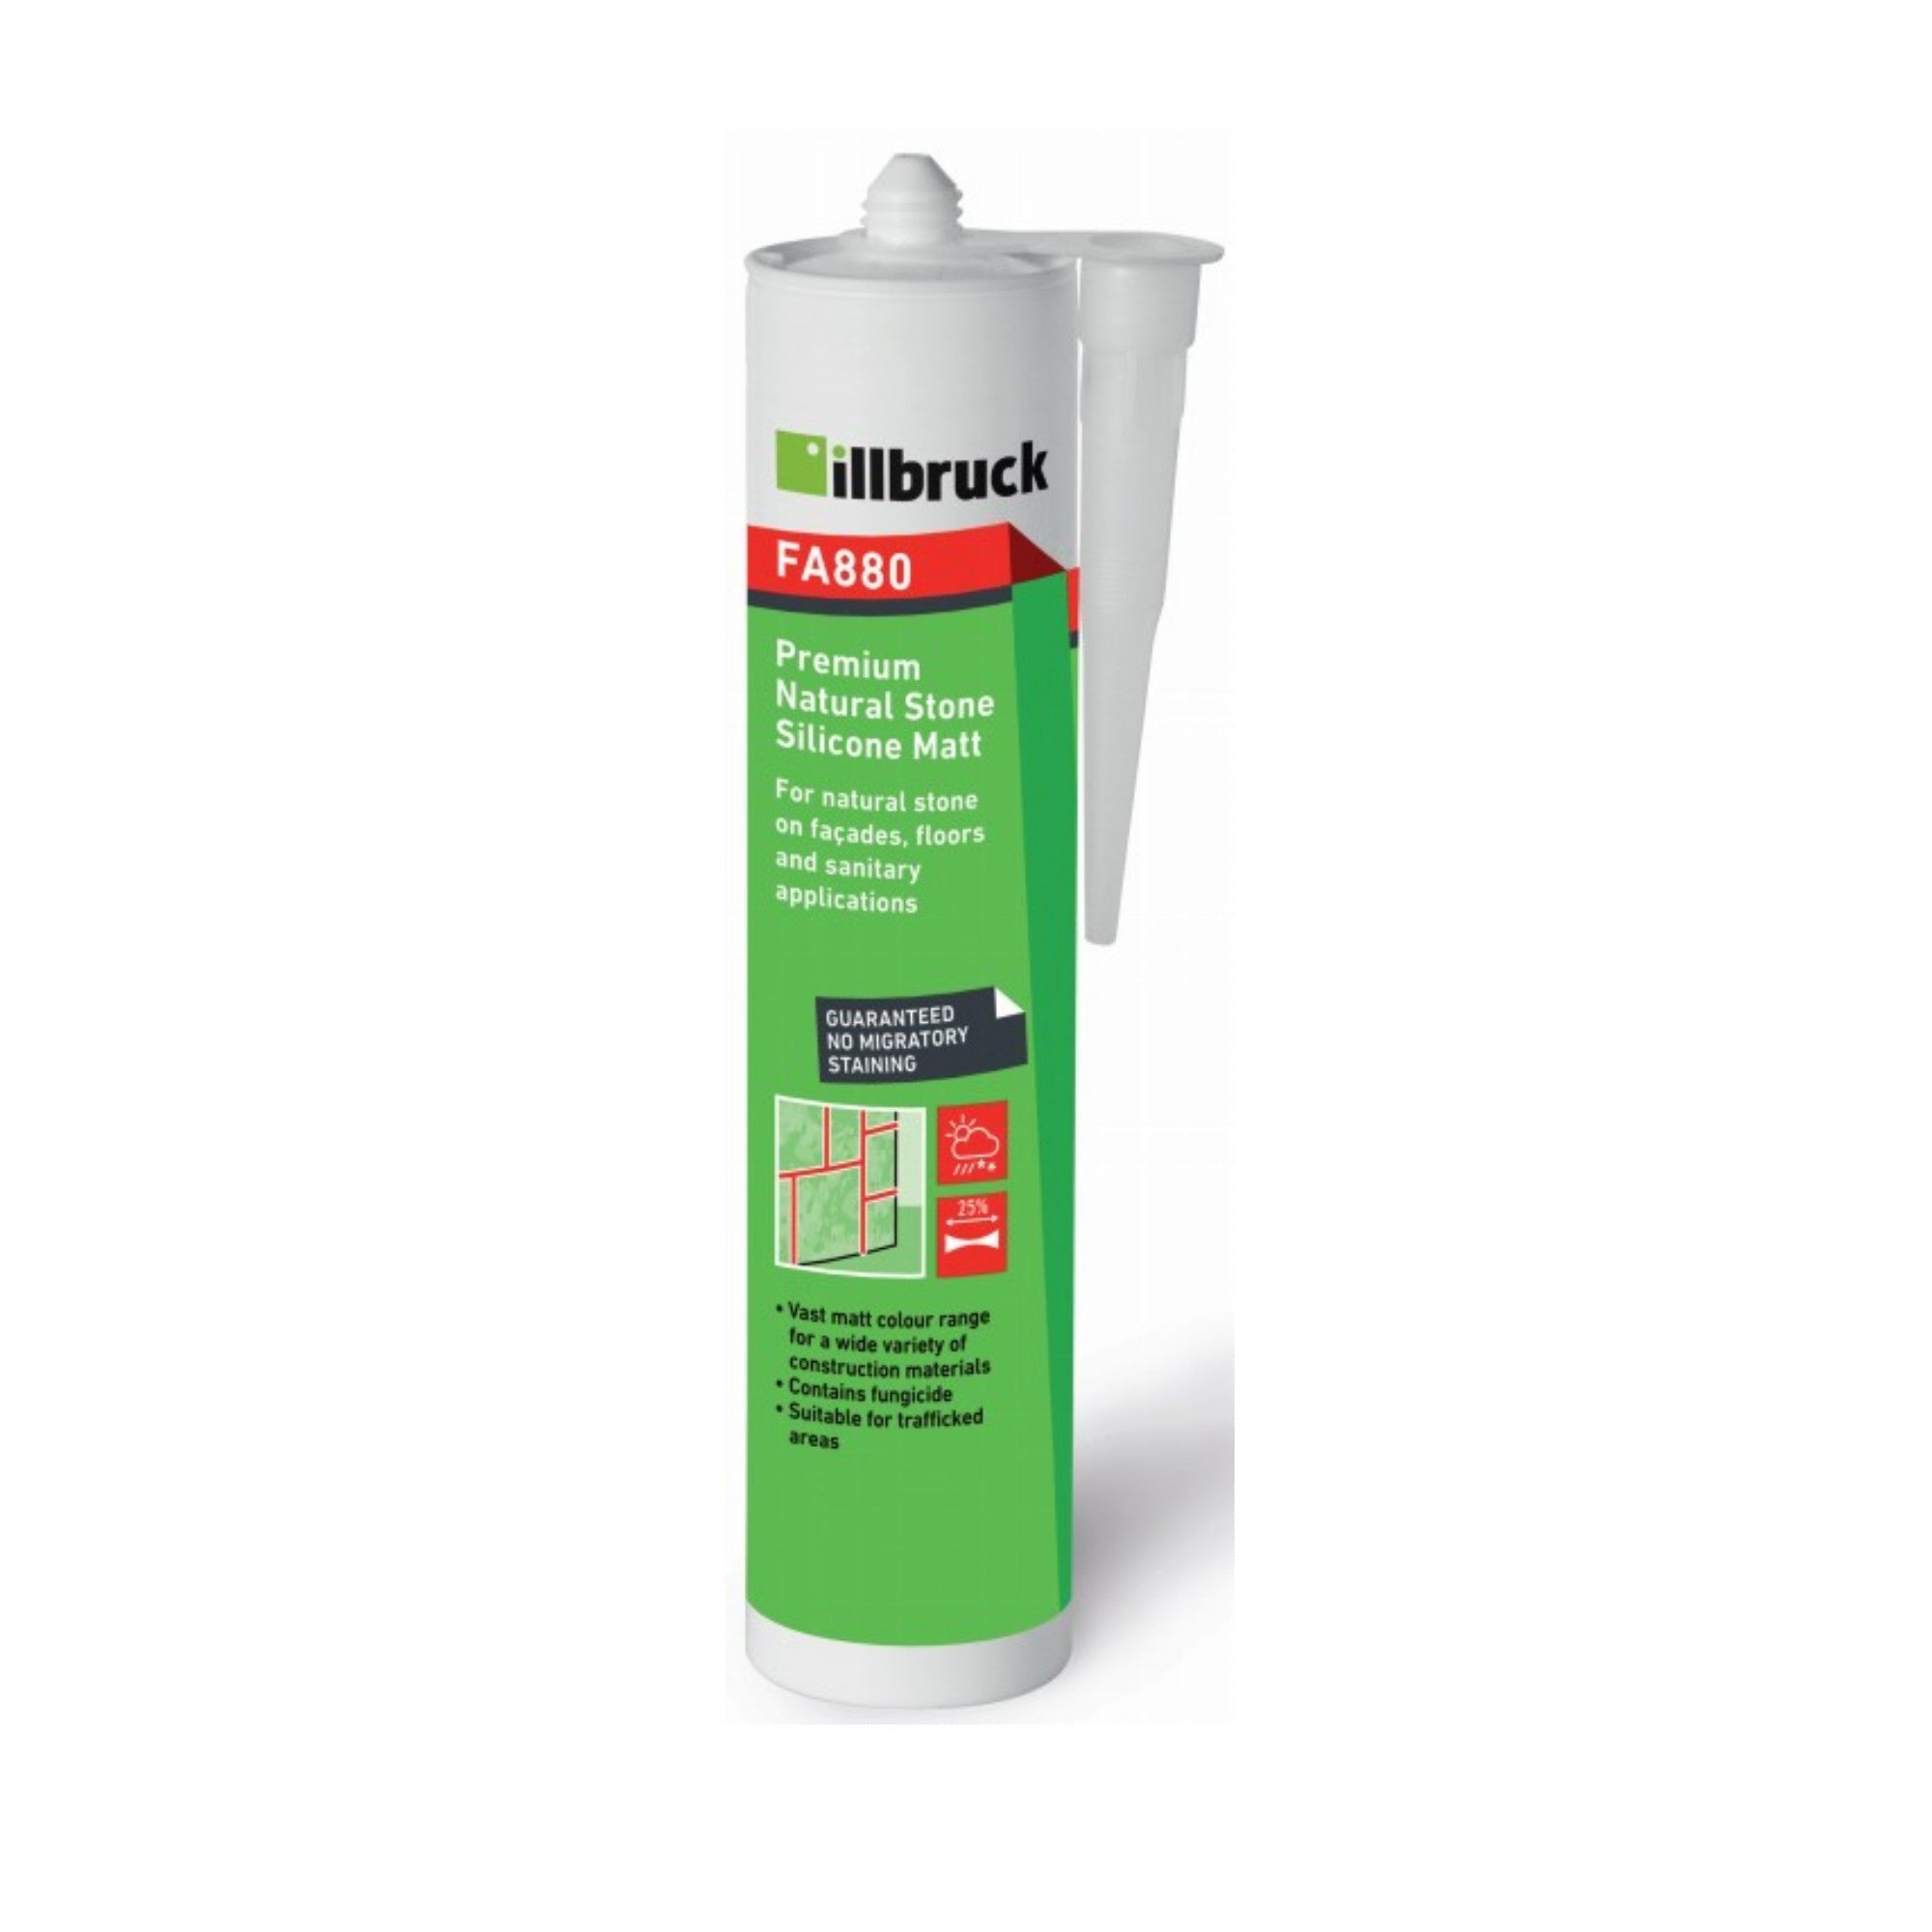
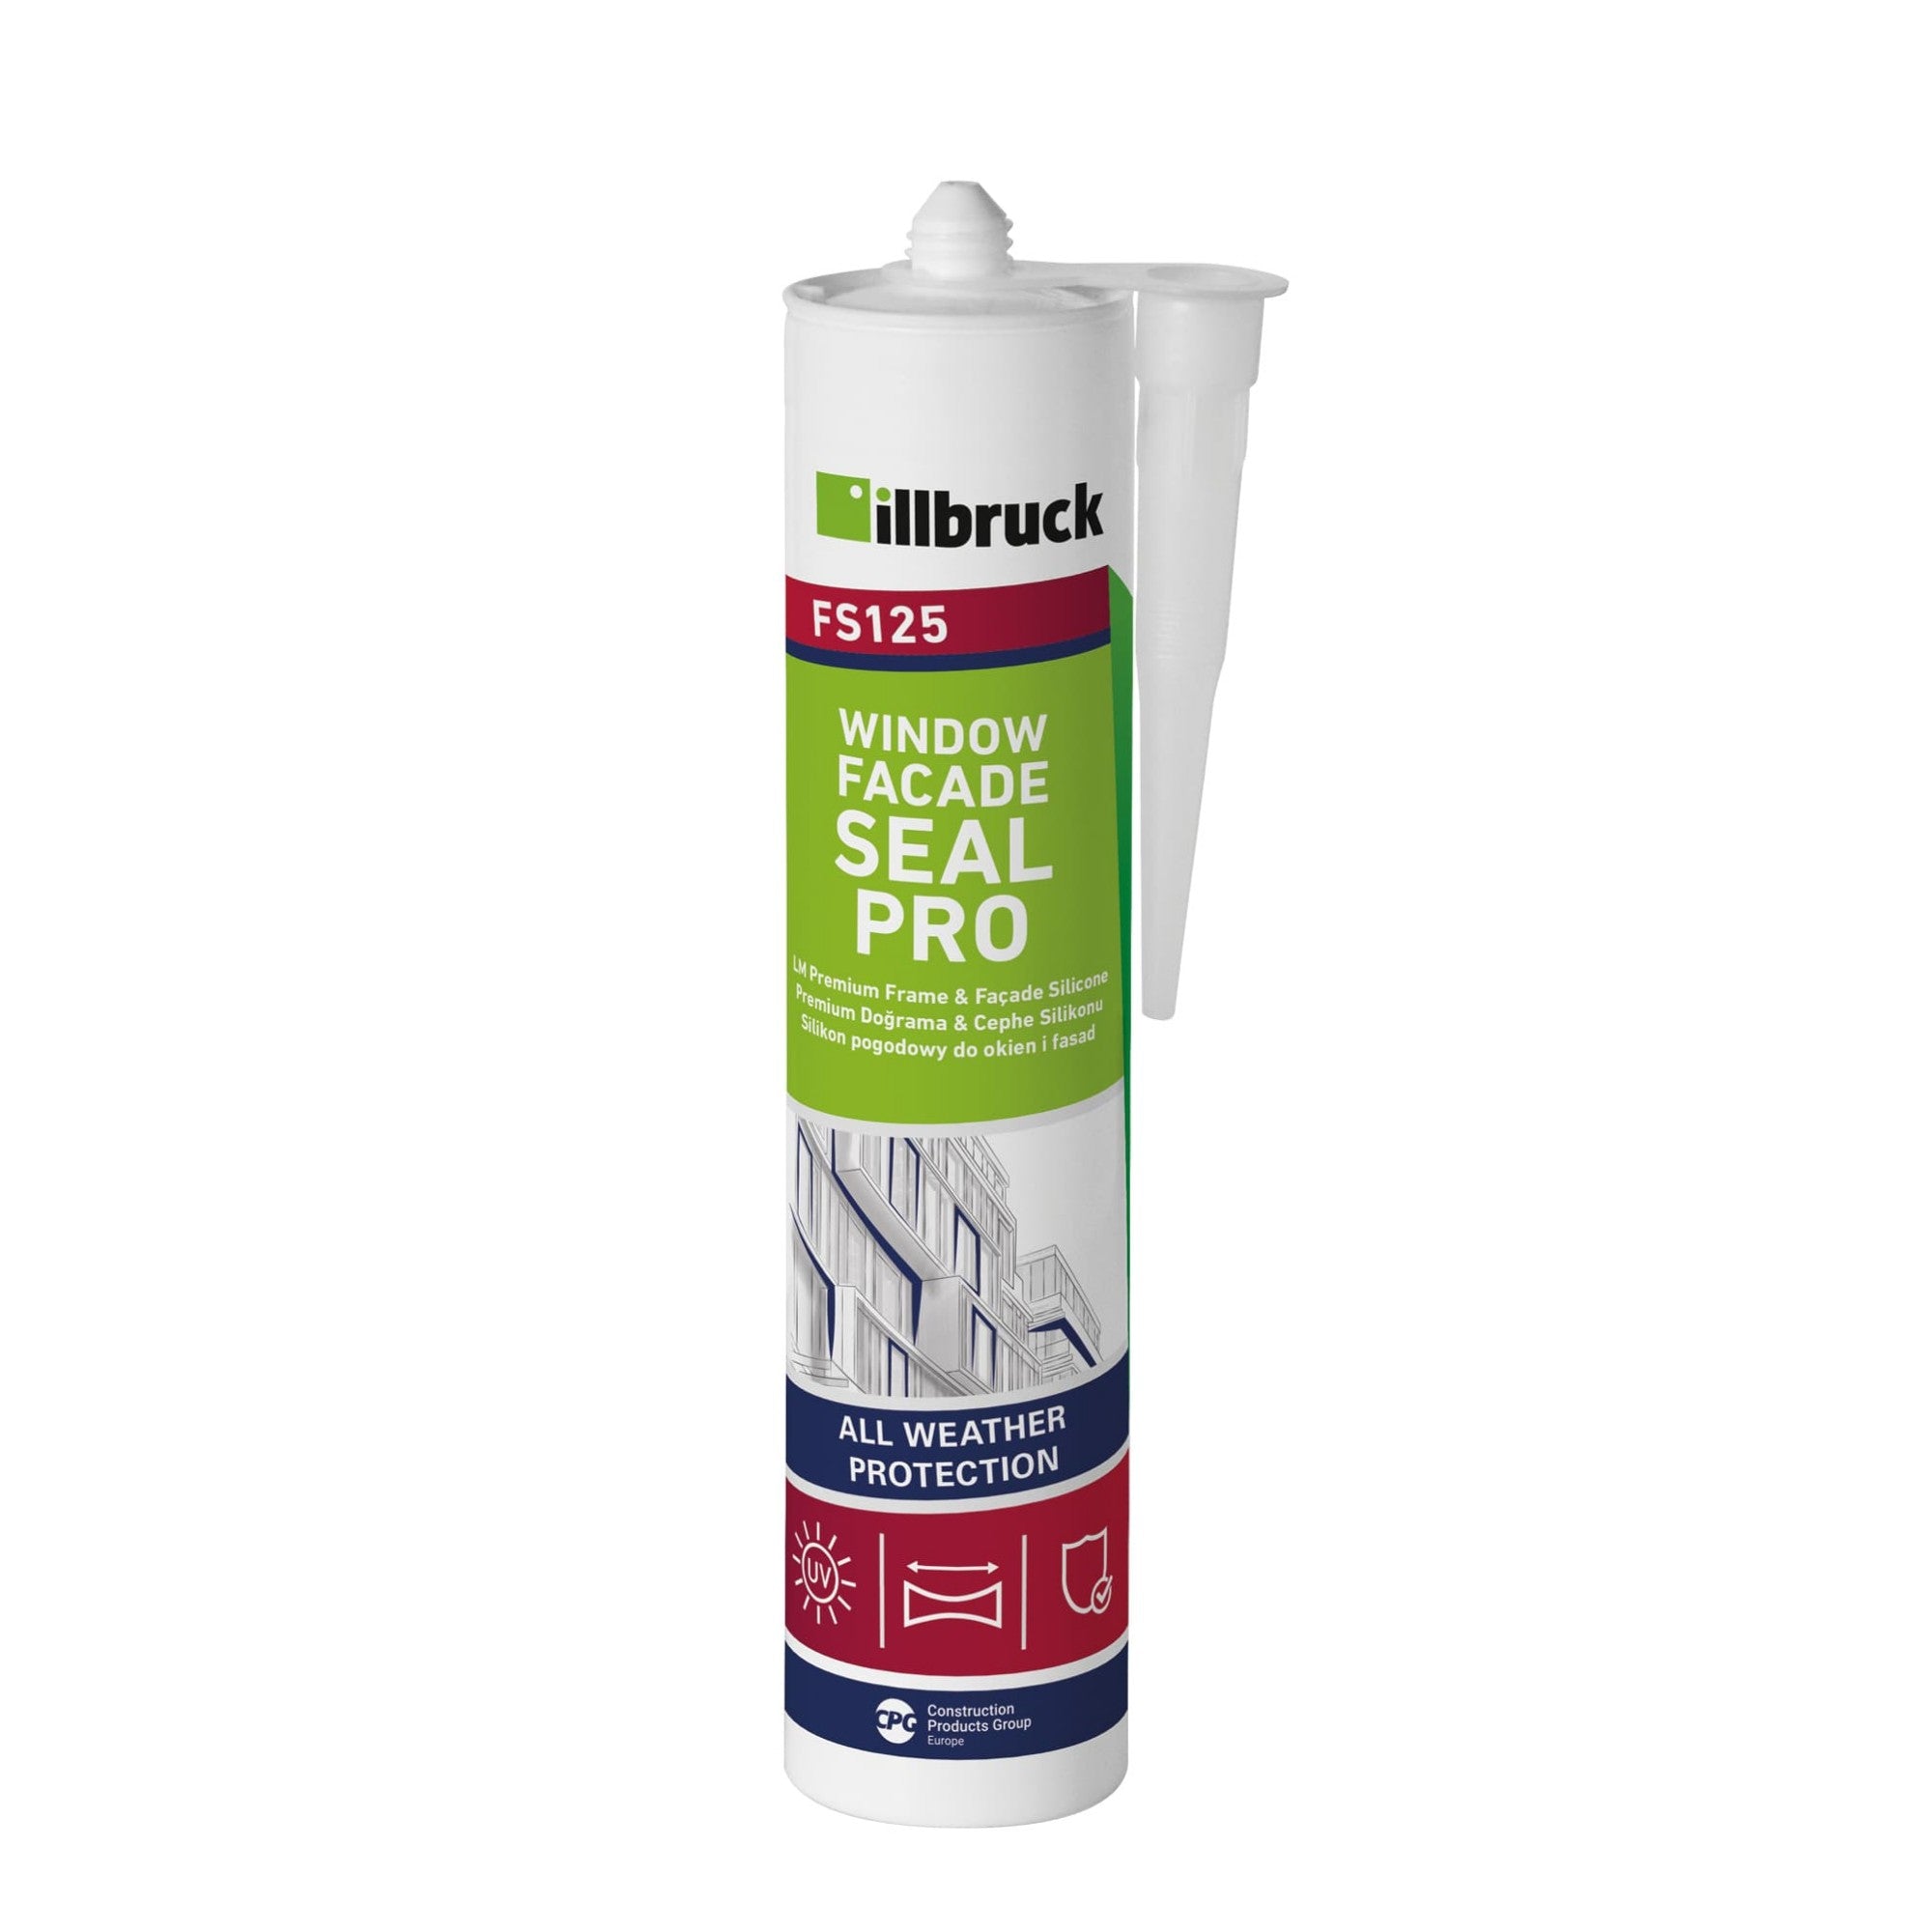
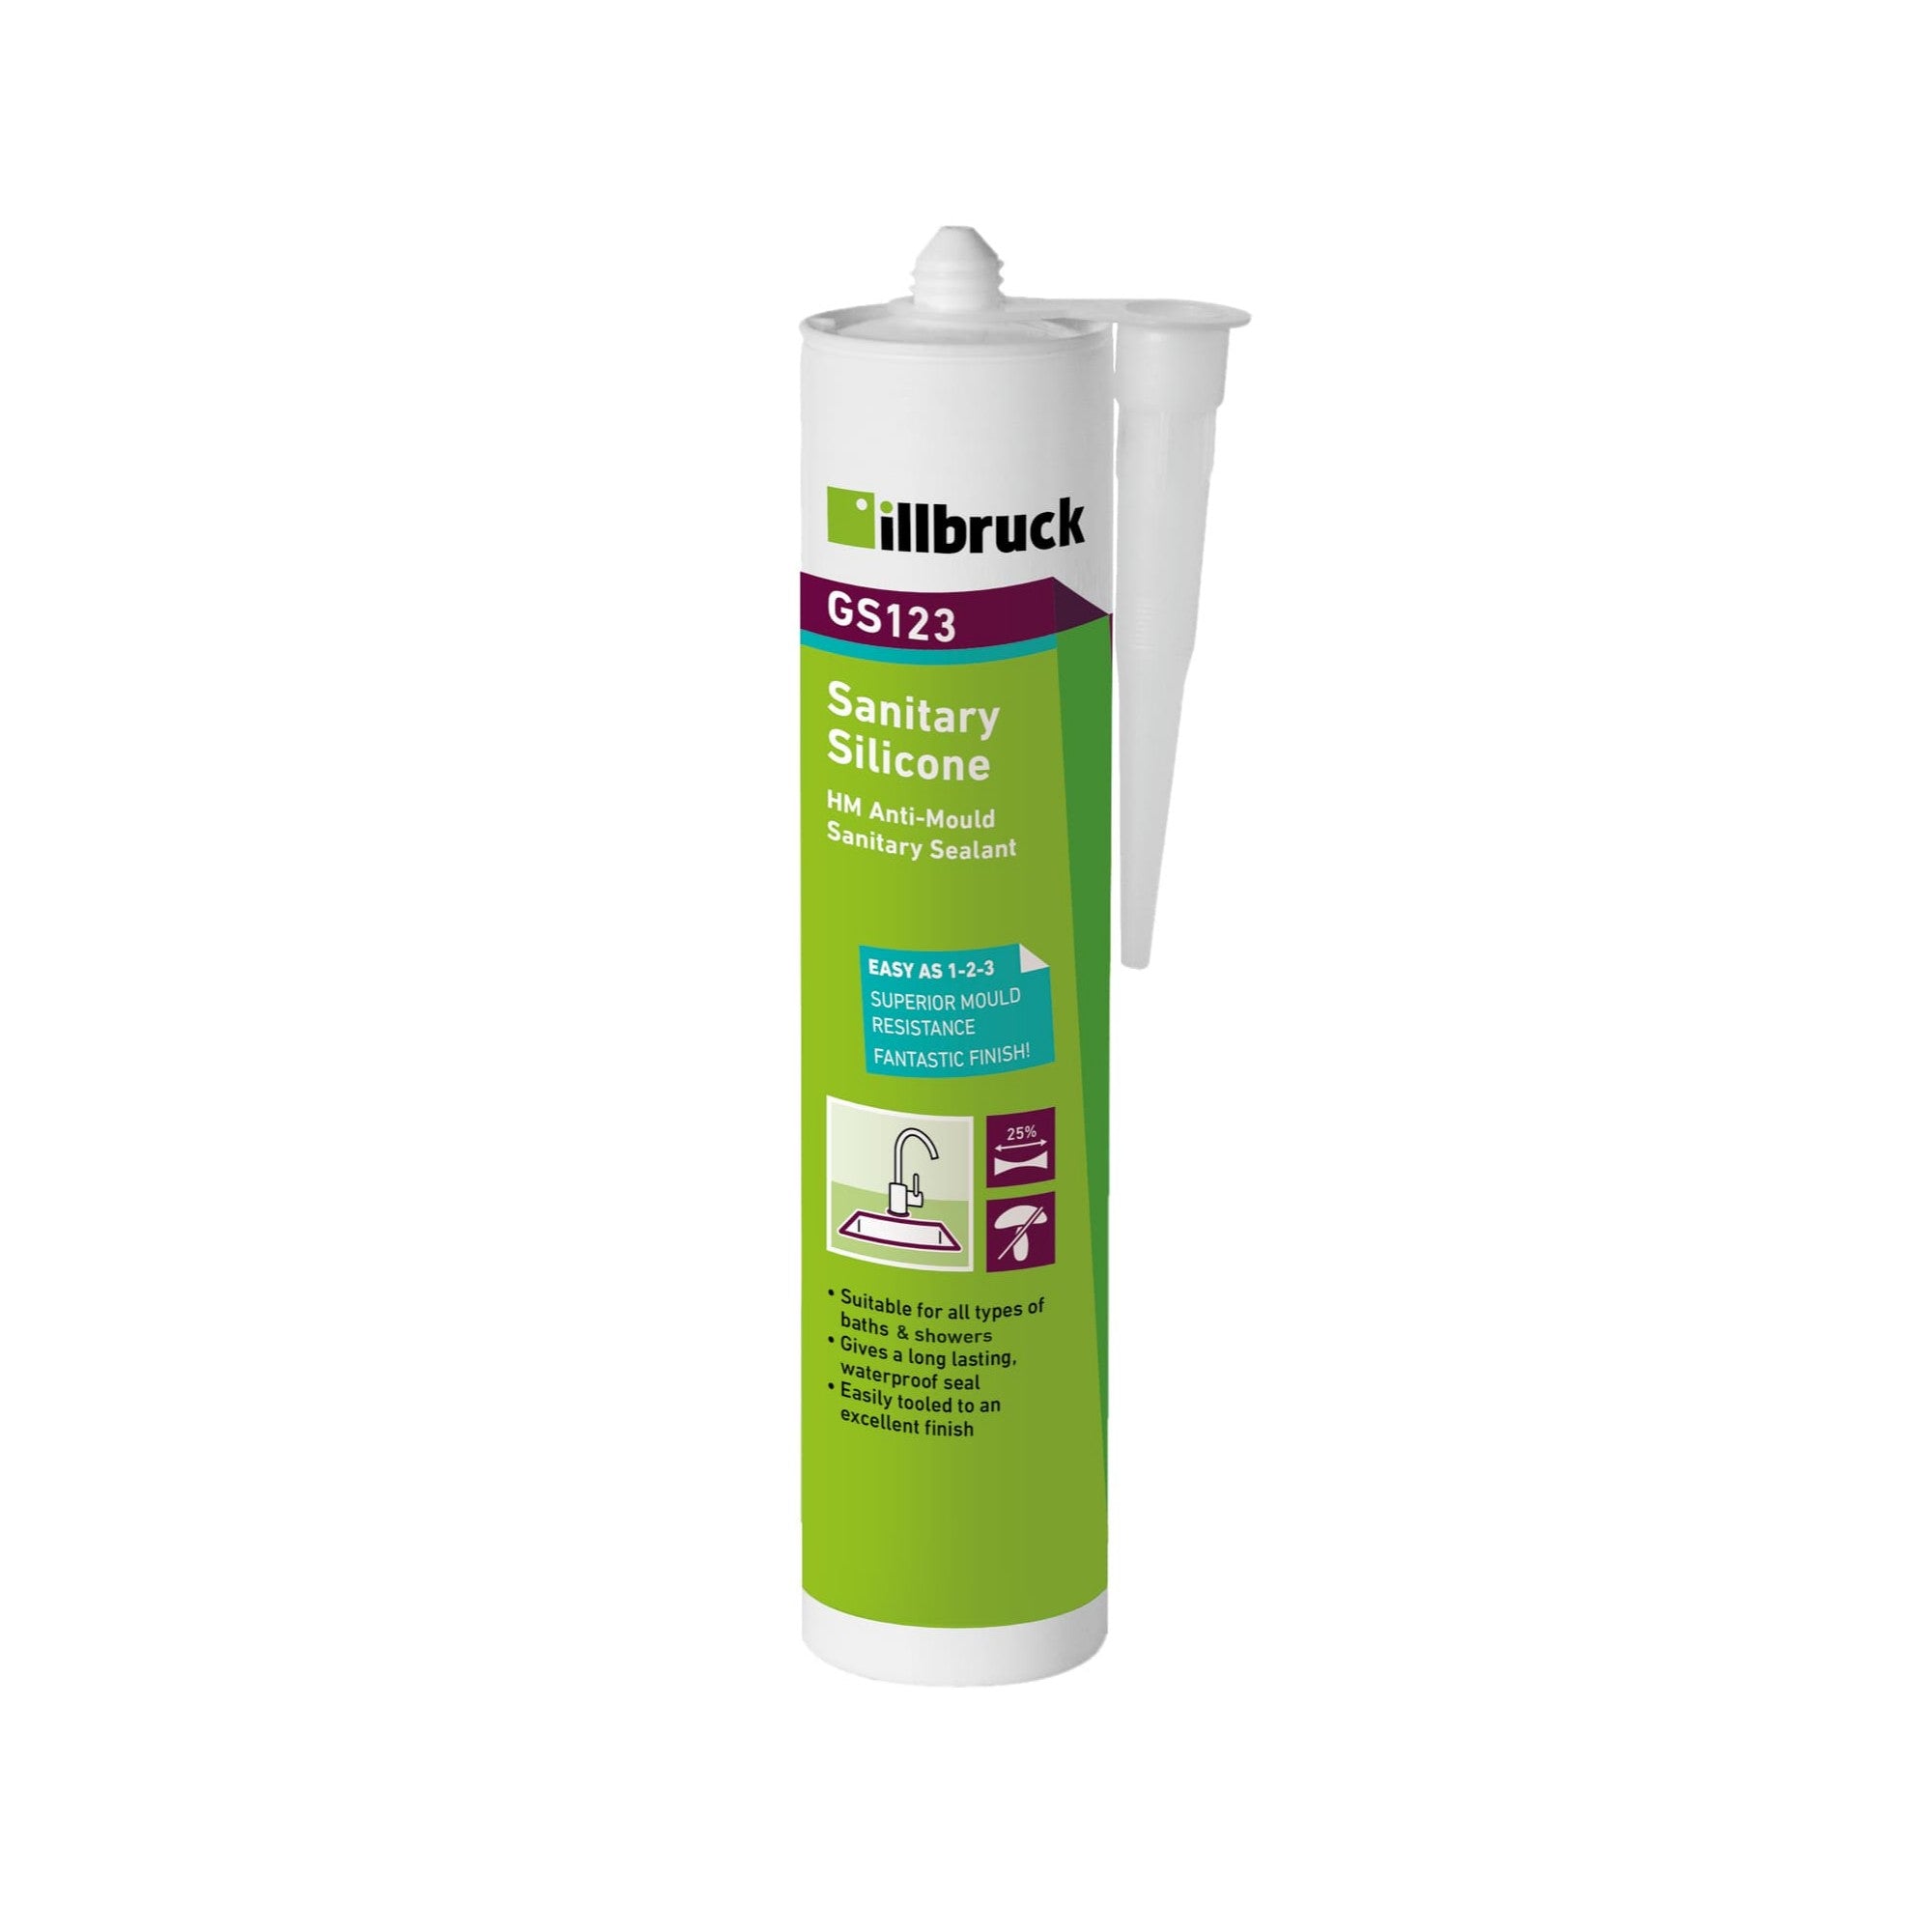
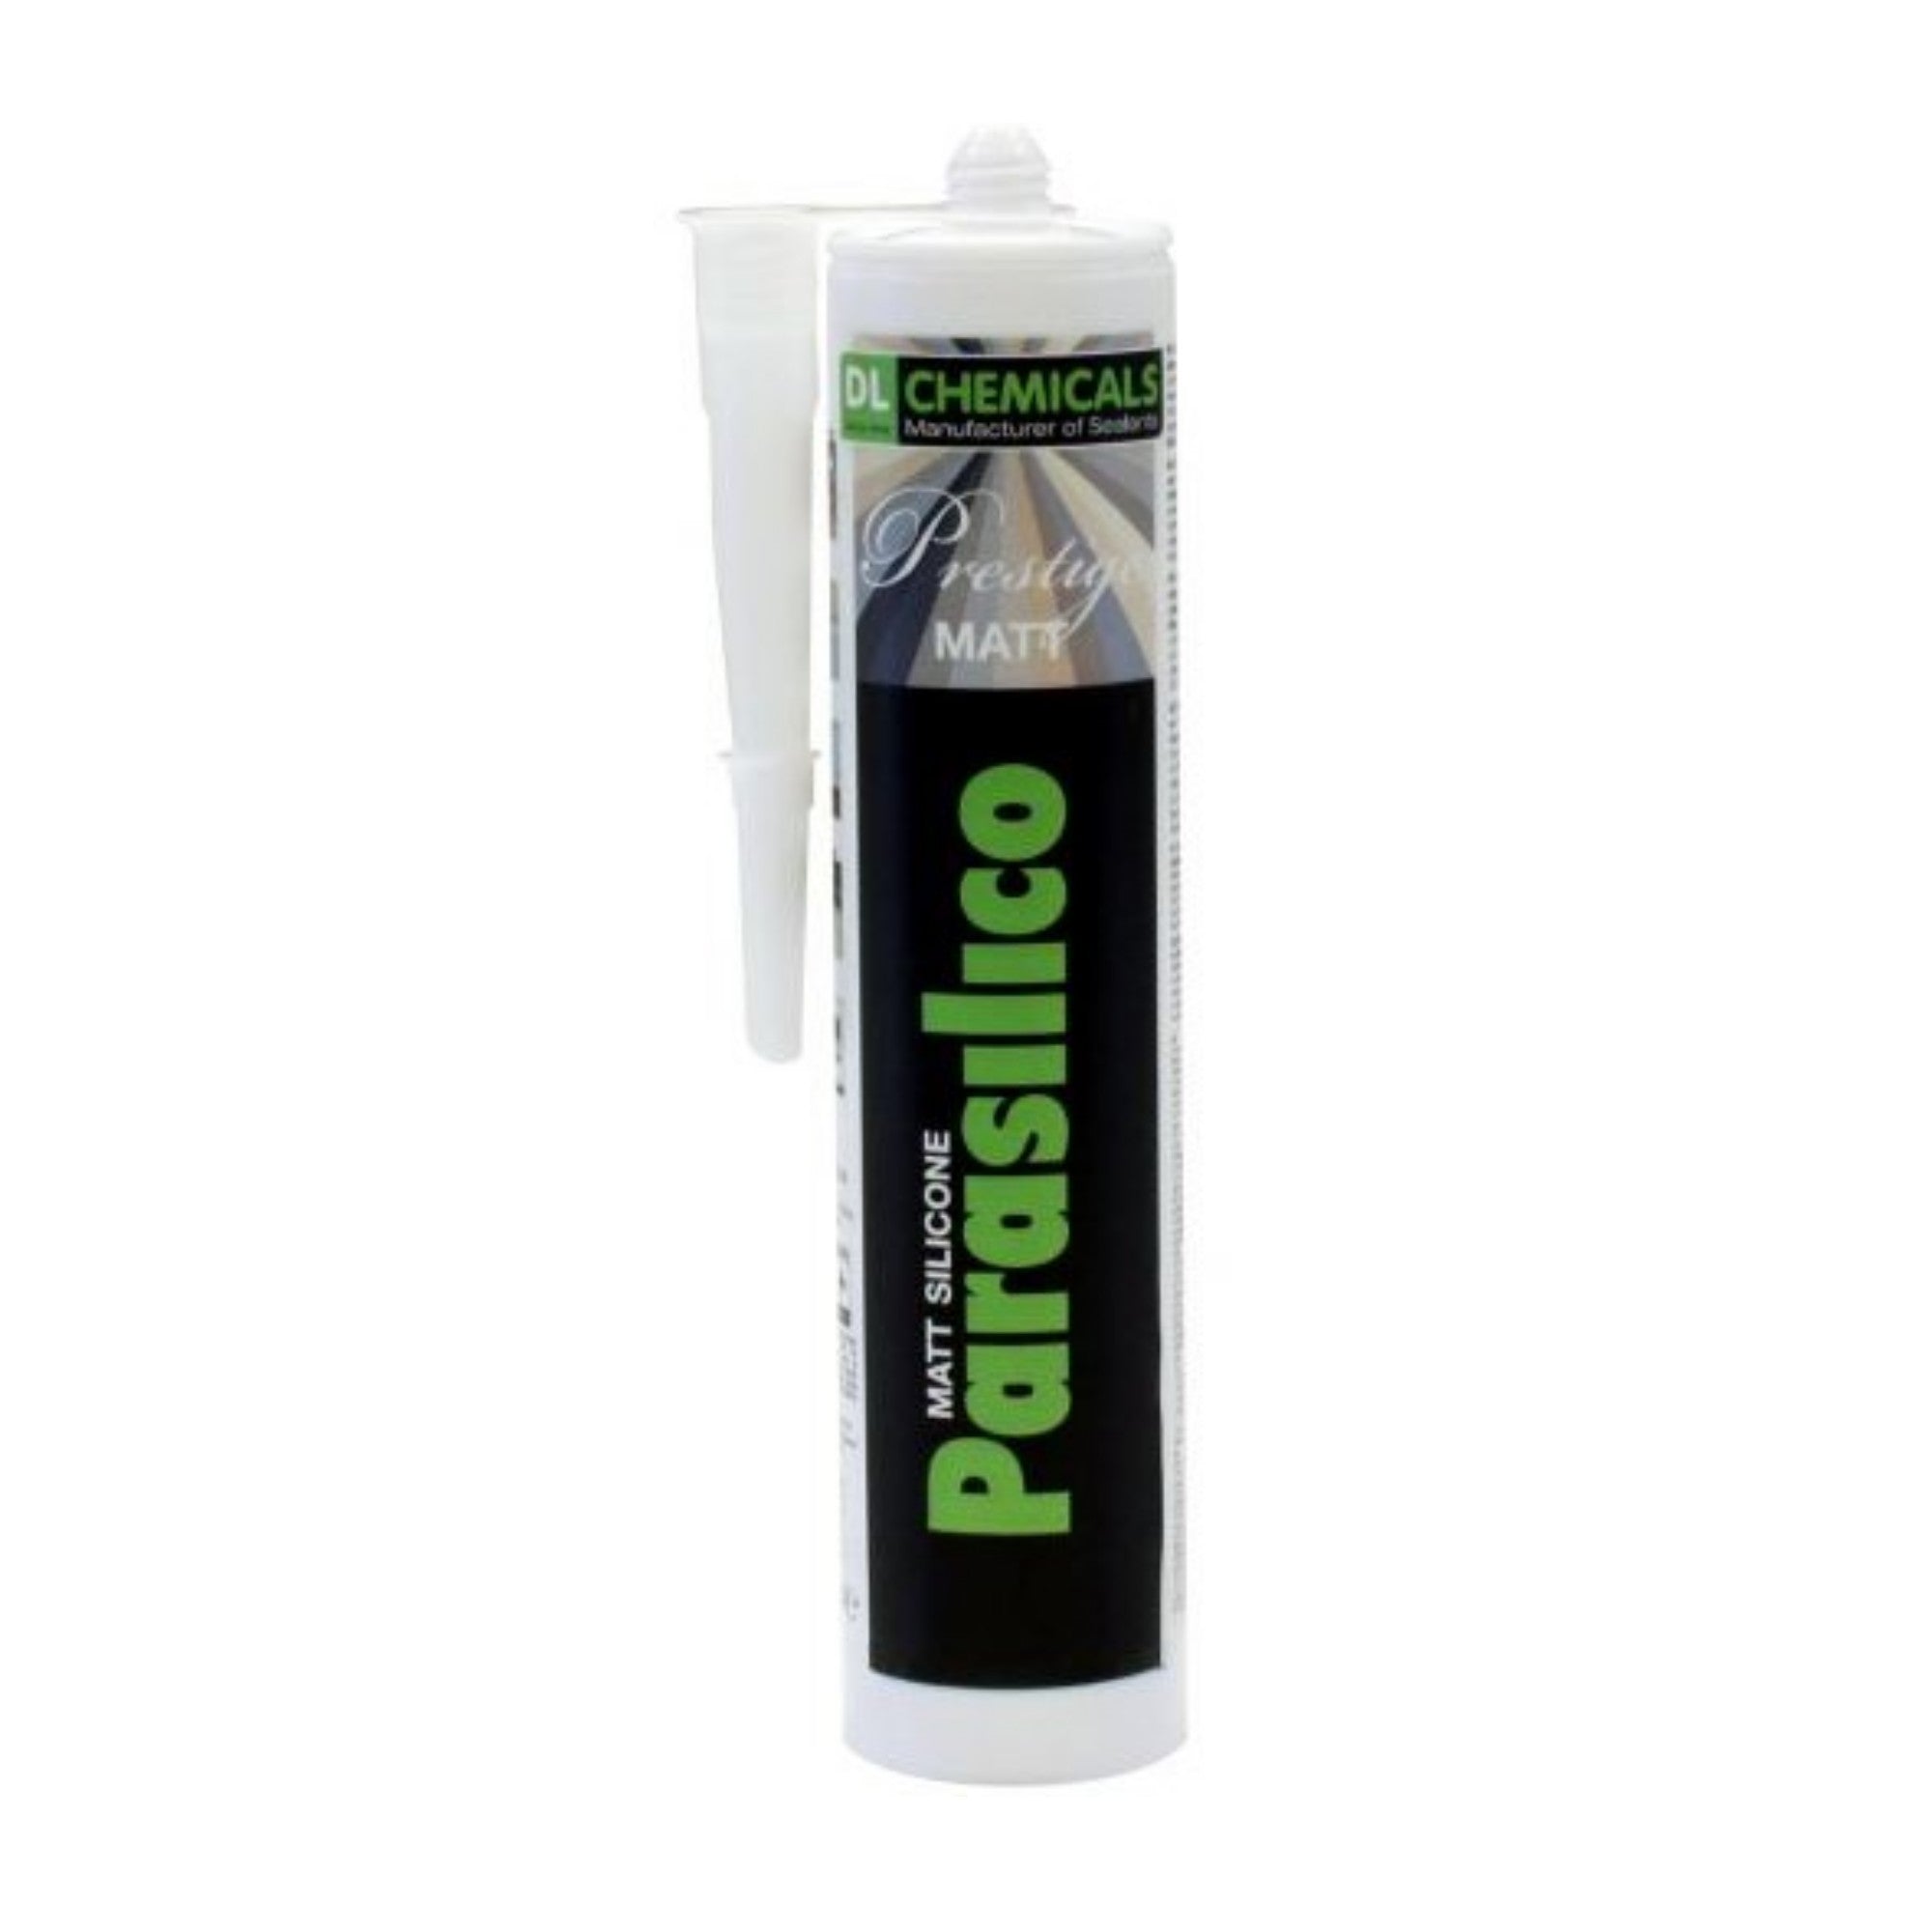
Selecting the correct type of sealant for your project is crucial for its success. Consider factors such as the type of material you're sealing, the location of the application (indoors or outdoors), and the specific requirements of the project (e.g., waterproofing, fire resistance, etc). For instance, acrylic sealant is ideal for indoor applications and areas that don't experience heavy moisture, while silicone sealant is perfect for outdoor and wet environments due to its waterproof properties. Choosing the right sealant ensures durability and effectiveness.
Don'ts: Using the Wrong Type of Sealant
Using the wrong type of sealant can lead to poor performance and a short-lived seal. Understanding the differences between sealants and their specific uses will help you make the right choice for your project.
Dos: Apply Sealant Evenly
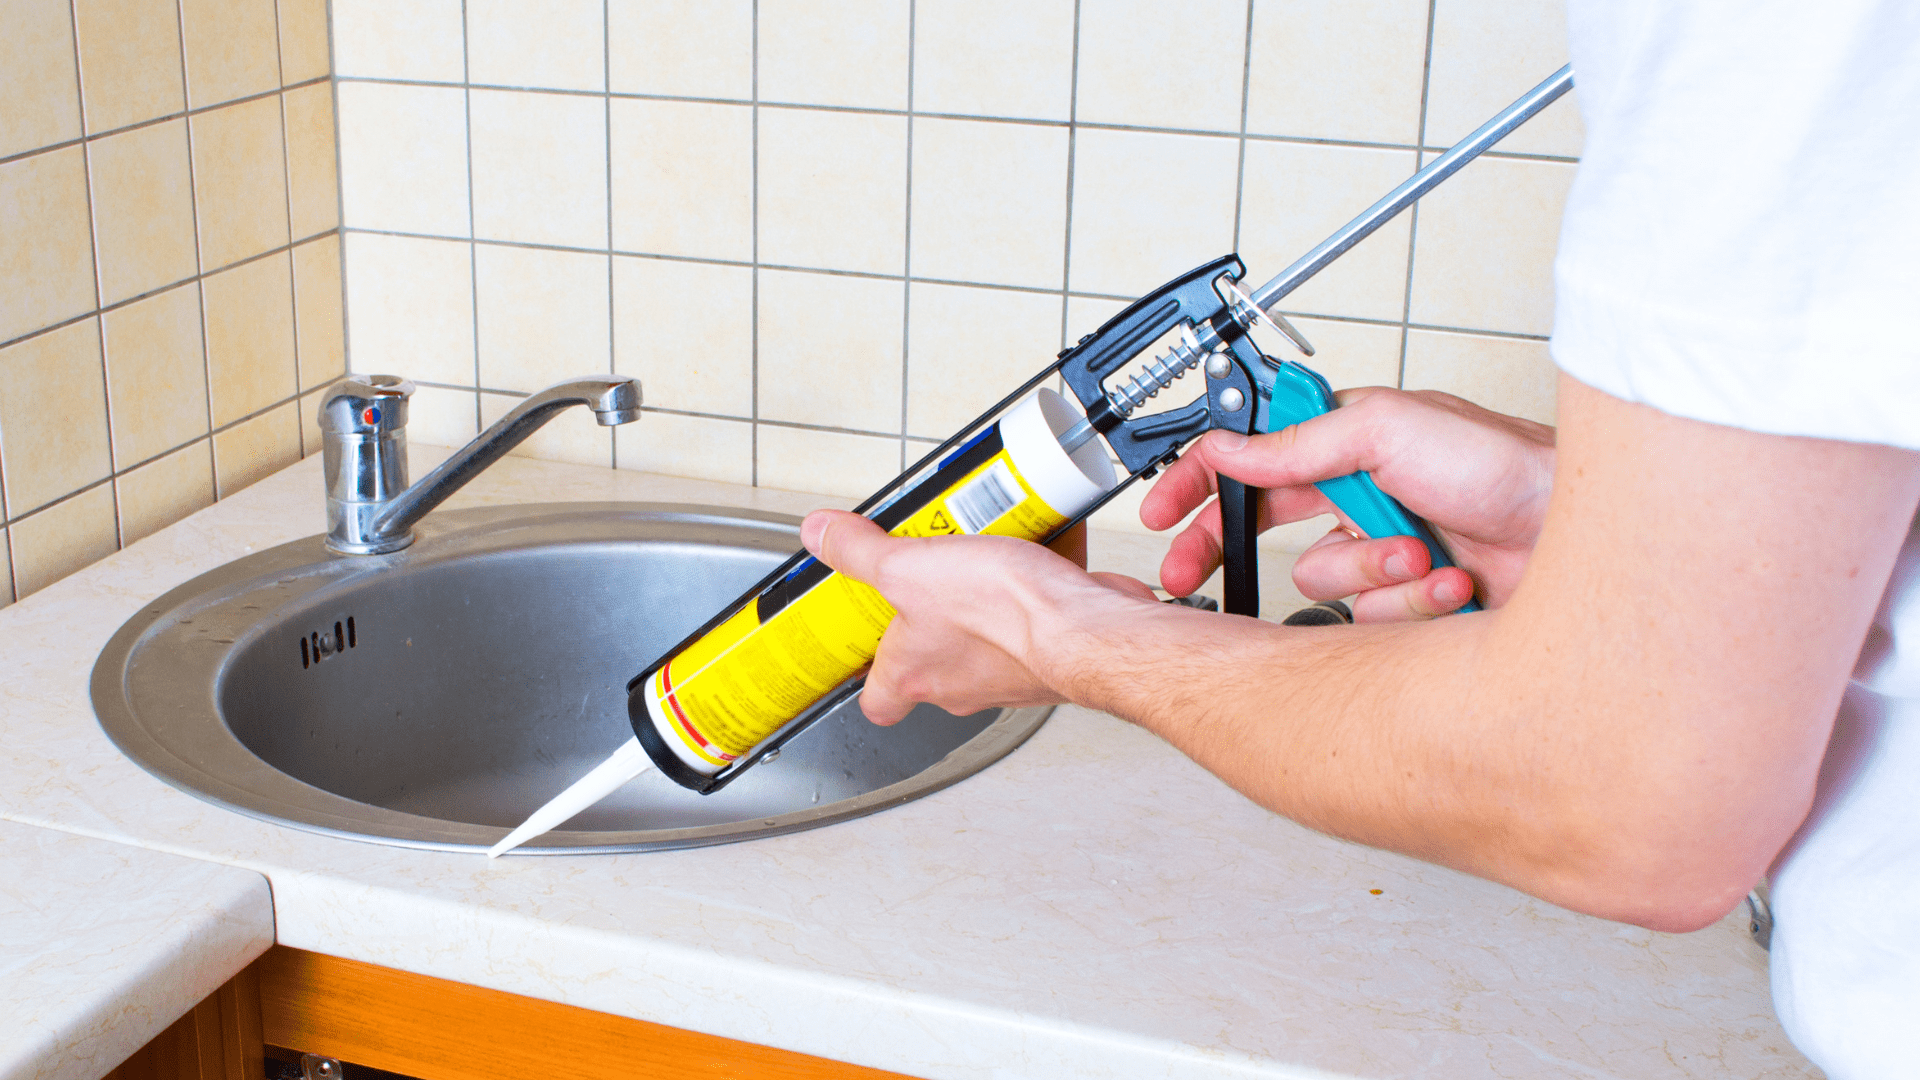
While it may be tempting to apply a thick layer of sealant for extra protection, overapplication can lead to a messy finish and ineffective sealing. Apply sealant in thin, even layers, using a caulking gun for precision and control. Thin, even layers ensure a smoother finish and better performance.
Don'ts: Overapplying Sealant
Overapplying sealant can also attract dirt and debris, compromising the integrity of the seal over time. Stick to applying sealant in thin layers for the best results.
Dos: Proper Tooling and Smoothing
After applying sealant, use a tool such as a sealant smooth out tool or your finger to smooth and tool the sealant into place. This helps to ensure proper adhesion and creates a neat, professional-looking finish. Work quickly but carefully, smoothing the sealant in one continuous motion to avoid uneven lines or gaps.
Don'ts: Rushing the Drying Process
Allow adequate time for the sealant to dry and cure fully before exposing it to moisture or heavy use. Rushing the drying process can compromise the effectiveness of the sealant and lead to premature failure. Follow the manufacturer's instructions for drying and curing times, and avoid disturbing the sealant until it has fully set.
By following these dos and avoiding these common mistakes, you can achieve professional results when using sealants for your DIY projects. Remember to take your time, choose the right sealant for the job, and practice proper application techniques for a long-lasting and effective seal.